
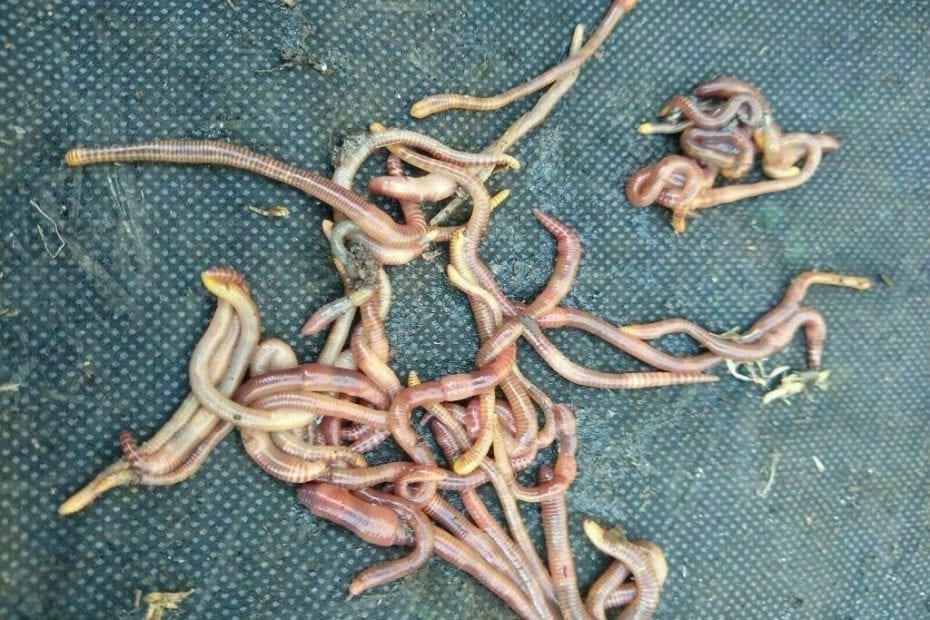
A red wiggler bin has to stay moist, but it should not behave like a bucket of mud. That distinction matters because Eisenia fetida exchanges gases across its moist skin. Too little water interferes with that exchange and dries the animal; too much water fills air spaces in the bedding and can turn an aerobic habitat into an oxygen-poor one.
The practical goal is therefore not “as wet as possible.” It is moist bedding with open pore space: enough water to keep the worms’ skin and food web active, and enough air to support the worms and the microorganisms that help decompose their food.
What the research and extension guidance actually say
Published recommendations do not all use exactly the same number. Oregon State University Extension recommends roughly 75 to 85 percent moisture in worm bedding. NC State Extension gives about 80 percent as an optimum and a broader working range of 60 to 90 percent. A controlled study comparing earthworm species found the best growth and development for E. fetida at 70 percent moisture in that study’s particular mixed bedding.
Those values are not contradictions. Moisture percentage is measured by weight, while a home worm bin contains changing mixtures of paper, castings and food. A percentage that works in one research substrate is not a universal set point for every tote. For ordinary care, the useful conclusion is simpler: red wigglers need a very damp, aerated matrix, not standing water.
The squeeze test is more useful than guessing
For a household or classroom bin, the familiar “wrung-out sponge” test is a sensible field check. Take a handful of bedding from below the dry-looking surface and squeeze firmly.
- No droplets and the material will not hold together: the bedding is probably too dry.
- A few droplets: the moisture is generally in a useful range.
- A stream of water, dripping without a hard squeeze, or a glossy slurry: the bedding is too wet.
Test more than one location. Food pockets can be wetter than the edges, and the surface can look dry while lower layers remain saturated. Also pay attention to texture. Damp shredded paper that springs apart contains more air than the same paper compressed into a dense mat.
Signs a worm bin is too dry
Dryness rarely announces itself with one perfectly diagnostic sign, so look for a pattern:
- bedding feels crisp, papery or dusty below the surface;
- shredded paper no longer clumps lightly when squeezed;
- worms are concentrated in the few moist pockets near food;
- worms appear thin, sluggish or tightly coiled; or
- decomposition slows even though temperature and feeding are reasonable.
A few worms gathered around a moist food scrap do not prove the whole bin is dry. Confirm the condition with the squeeze test in several places before correcting it.
How to add moisture without flooding the bin
Add water gradually. A mister or a small measuring cup gives better control than pouring directly from a large container. Moisten the bedding in stages, gently lifting and separating the upper material so the water spreads instead of running down one channel. Wait a few minutes, then test again.
If a new batch of bedding is very dry, prepare it outside the occupied bin: soak it, wring it until only a few drops emerge, fluff it, and then add it. This avoids creating a dry layer that pulls moisture from the habitat or a flooded patch that displaces air.
Our guide to preparing shredded-paper bedding for red wigglers explains the process in more detail. The broader worm-bin setup guide places moisture alongside ventilation, container size and feeding.
Signs a worm bin is too wet
Excess water is often more difficult to notice because wet bedding still looks hospitable. Check for:
- liquid pooling in the bottom or draining repeatedly from the bin;
- paper bedding collapsing into a heavy, compact mass;
- a sour or putrid odor rather than a mild earthy smell;
- worms crowding the lid or upper walls along with other stress signs; or
- food scraps remaining in a slimy, poorly aerated pocket.
None of these observations proves that water is the only problem. Overfeeding, heat, poor ventilation and unsuitable food can produce overlapping symptoms. The point is to inspect the system rather than treating one behavior as a diagnosis.
How to correct a waterlogged bin
- Stop adding water. Do not mist on a calendar when the bedding is already wet.
- Remove standing liquid. Correct the cause rather than relying on a drainage reservoir as normal operating practice.
- Add dry, absorbent bedding. Mix in modest amounts of torn cardboard or shredded paper, concentrating on saturated zones.
- Restore pore space. Gently lift compacted bedding with your fingers. Do not churn the entire bin or handle the worms roughly.
- Reduce wet feed for a while. Melon, canned vegetables, coffee grounds and other high-moisture foods can add more water than people expect.
- Check ventilation and temperature. Water problems become oxygen problems faster when bedding is compressed or microbial activity is high.
If odor is already present, use the diagnostic sequence in Why Does My Worm Bin Smell Bad?. If the bedding is heating, address that separately with the worm-bin heat guide.
Why a drain is not a moisture meter
Some bins collect liquid in a lower tray. Its presence does not show that the habitat above has reached an ideal moisture level. It may indicate overwatering, very wet food or water moving through channels while other areas remain drier.
The collected liquid is leachate—water that has passed through material that may not be fully processed. It is not automatically the same as a deliberately aerated vermicompost extract, and NC State cautions against using untreated worm-bin leachate on food crops, houseplants or sensitive plants. The safer approach is to manage the bin so standing liquid is unusual rather than treating drainage as a product.
Plastic and wooden bins behave differently
Container material changes the water balance. Plastic retains moisture well and can become too wet, especially with a tight lid and water-rich feed. Wood allows more evaporation and may require more frequent checks. Room humidity, airflow, temperature, bedding depth and feeding rate also affect how quickly water is lost.
That is why a fixed instruction such as “spray twice a week” is unreliable. Observe, squeeze-test and make small corrections. The bin itself gives better information than the calendar.
A useful classroom measurement
Moisture management can become a quantitative lesson without stressing the worms. Students can weigh a sealed sample container, add a known mass of bedding from the bin, dry that bedding completely away from the animals, and weigh it again. The mass lost during drying is mostly water.
For a wet sample with mass W and the same sample dry with mass D, wet-basis moisture is:
Moisture (%) = ((W − D) ÷ W) × 100
This measurement belongs on a small removed sample, not on the living culture. It also shows why the squeeze test is approximate: two materials can feel different at the same measured percentage because paper structure, particle size and compaction affect how water and air are held.
A practical moisture routine
- Check below the surface, not only the top.
- Squeeze samples from two or three locations.
- Add water or dry bedding in small measured amounts.
- Record food additions, moisture corrections, odor and worm location.
- Recheck after the correction has had time to spread.
If you are starting a culture, Ficarro Farms offers 125-count red wiggler composting worms; the product page shows current availability. A successful bin depends less on chasing one perfect number than on maintaining the relationship among water, air, bedding and food.
Sources and further reading
- Oregon State University Extension: Composting with Worms
- NC State Extension: Worms Can Recycle Your Garbage
- University of Illinois Extension: Vermicomposting
- Garg, Chand, Chhillar and Yadav: comparative study of Eisenia fetida growth and vermicomposting conditions
Moisture is not a separate chore from aeration; it is part of the same habitat problem. Keep the bedding very damp, preserve its structure, and let repeated observations—not a rigid spraying schedule—guide the next adjustment.