
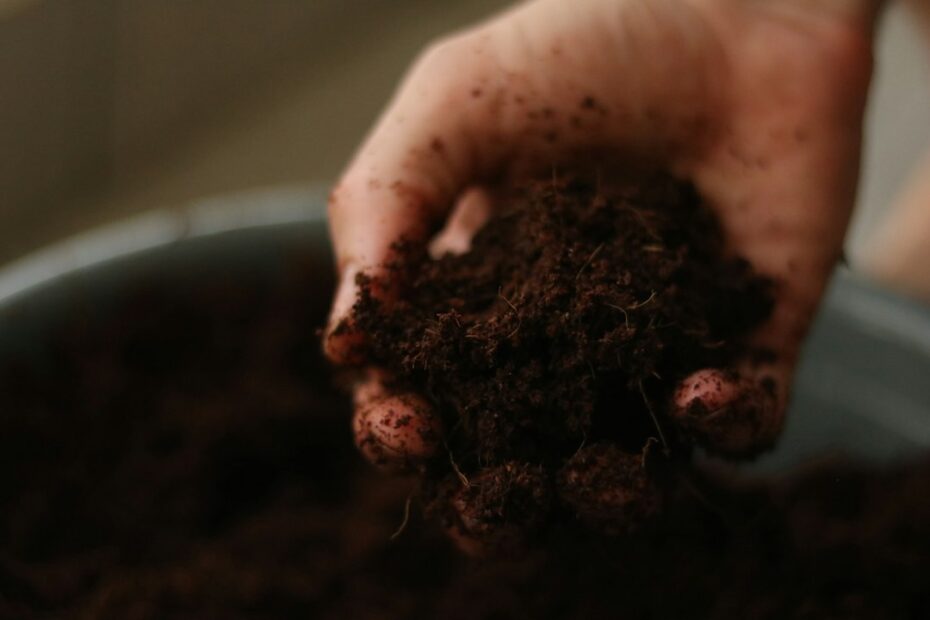
A worm bin is not finished when every last scrap disappears. It is ready for harvest when most of the original bedding has become dark, crumbly vermicompost, the material smells earthy rather than sour, and recognizable food is scarce. At that point, removing some finished material and replacing it with fresh bedding is part of maintaining the habitat—not merely collecting fertilizer.
Red wigglers (Eisenia fetida) live and feed near the surface of moist organic material. As bedding and food are processed, the bin gradually contains less usable habitat and more castings mixed with decomposed bedding. Harvesting restores pore space, carbon-rich bedding, and feeding room while preserving enough worms to continue the system.
First, decide whether the bin is actually ready
Do not harvest by the calendar alone. Temperature, moisture, food type, worm population, and bin design all change the rate of decomposition. Look for several signs together:
- Most of the material is uniformly dark and fine-textured.
- The bin smells fresh and earthy, not rotten or strongly acidic.
- Only small amounts of recognizable bedding and food remain.
- Finished material has accumulated through much of the bin, not only in one damp pocket.
Oregon State University Extension notes that finished vermicompost often resembles crumbly chocolate cake, although a wet bin may produce material that needs some air-drying before it can be screened. If your bin is waterlogged, foul-smelling, or heating, correct those conditions before turning harvest day into a full-bin disturbance. Our worm-bin odor guide explains what to check first.
The gentlest method: move the worms sideways
For a wide bin, migration is usually the least disruptive approach.
- Stop adding food across the whole bin for a short period so that old pockets are consumed.
- Move the existing material to one side.
- Add fresh, damp bedding to the empty side and bury a modest amount of suitable food there.
- For the next two to four weeks, feed only the new side.
- When most worms have migrated, remove finished vermicompost from the old side and replace it with fresh bedding.
This method takes patience, but it lets the worms do most of the sorting. It works best when the old and new sections remain connected and the new bedding is moist and aerated. Do not deliberately desiccate the old side so severely that worms or cocoons are harmed.
The fastest method: light separation
When the whole bin must be reset, place the contents in several small mounds on a washable surface under bright indoor light. Red wigglers avoid light and move inward and downward. After several minutes, gently remove a thin layer of finished material from the top and sides of each mound. Pause when worms appear, let them retreat again, and repeat until each mound contains mostly worms and unfinished bedding.
Return that living fraction to a prepared bin with damp bedding. Work efficiently: a lamp is useful as a behavioral cue, but heat and drying are not. Direct midday sun can warm and dehydrate a small pile quickly, so a bright indoor workspace is easier to control.
The simple partial harvest: scoop and return
If you need only a small amount of vermicompost, remove the upper layer containing most of the worms, food, and recognizable bedding. Scoop finished material from below, then return the upper layer and mix in fresh damp bedding. This method is quick and avoids dismantling the entire system, although the harvested material will probably contain a few worms and cocoons.
A small worm or piece of unfinished bedding in outdoor garden compost is not evidence that the harvest failed. For indoor pots, sort more carefully so worms are not stranded in a container that cannot support them.
Should you sift worm castings?
Screening is optional. It produces a more uniform material, but forcing wet vermicompost through a fine screen can smear it, compact it, and injure small worms. If you want a fine product, first remove as many worms as possible and let the harvested material lose excess surface moisture without baking it dry. Return worms, cocoons, and coarse unfinished pieces to the bin.
What to do after the harvest
- Add generous fresh bedding rather than replacing the removed volume with food.
- Moisten the bedding evenly, then check it by feel; it should be damp but not dripping.
- Return the saved worms and unfinished material.
- Feed lightly until the rebuilt bin is stable.
- Keep the bin ventilated and within a moderate indoor temperature range.
If you need a bedding refresher, see how to prepare shredded paper for red wigglers. The guide on how much food red wigglers can process also explains why feeding should follow the bin’s actual response rather than a fixed daily formula.
A useful classroom application
Harvesting can become a concise lesson in animal behavior and material cycling. Students can compare the mass of finished vermicompost with the fresh bedding added, observe the worms’ negative response to light, and classify material as finished, unfinished, or living. Keep the observation brief, use moist working surfaces, and return the animals promptly. The scientific value comes from defined categories and recorded measurements—not from keeping the worms exposed until every individual is counted.
Starting or rebuilding a colony
A successful harvest should leave enough healthy worms to repopulate the refreshed bin. If you are establishing a separate system, choose the colony size after the bedding, ventilation, and food plan are ready. Ficarro Farms offers 250 live red wigglers for planned composting bins, with other counts available for different projects.
Sources and further reading
- Oregon State University Extension: Composting with worms
- NC State Extension: Composting and harvesting vermicompost
- University of Maryland Extension: Indoor worm composting
Representative photo by Alicia Christin Gerald on Unsplash.